Building and Deploying an Application with GNOME Builder
This tutorial describes how to use GNOME Builder to build an application written in C using GTK 3 and the libhandy library, package it as a flatpak, and finally deploy it to a development board or phone.
Setting up
The phone should have a working networking setup and IP address, as well as a running sshd listening on port 22 that enables the use of the ssh and scp tools. The system should also have flatpak installed. If you are using a development board, it can help to review the How To Guides to ensure that all of these things are set up.
In the steps below we assume that the phone has an IP address of 192.168.42.2. Replace this address with the real address of your phone or development board where appropriate.
Getting SDKs and Runtimes
Review the Setting up Flatpak for GNOME Development instructions to ensure that you have suitable runtimes installed on the phone. It is also useful to install the latest runtimes from the Nightly GNOME Apps repository.
Log in to the phone using ssh:
user@workstation:~$ ssh purism@192.168.42.2
Add a new remote to the Flatpak configuration and install the latest GNOME runtime:
purism@pureos:~$ flatpak remote-add --if-not-exists gnome-nightly https://nightly.gnome.org/gnome-nightly.flatpakrepo
purism@pureos:~$ flatpak install org.gnome.Platform/aarch64/master
This should provide the dependencies needed for the application. You can now log out of the phone.
Cloning the Application Repository
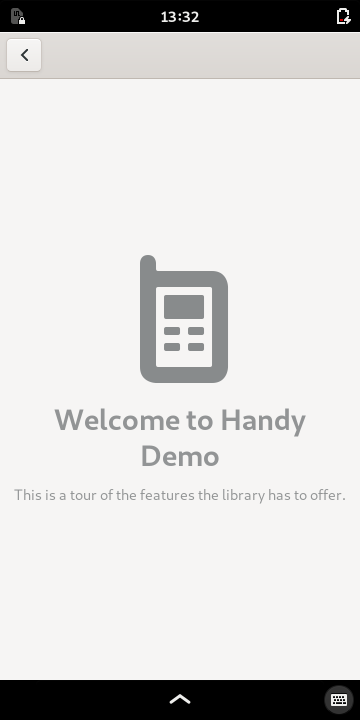
For this example, the libhandy demo application will be built from the master branch of the libhandy repository.
When you start Builder, open the application menu in the top-right of title bar, and select Clone Repository.
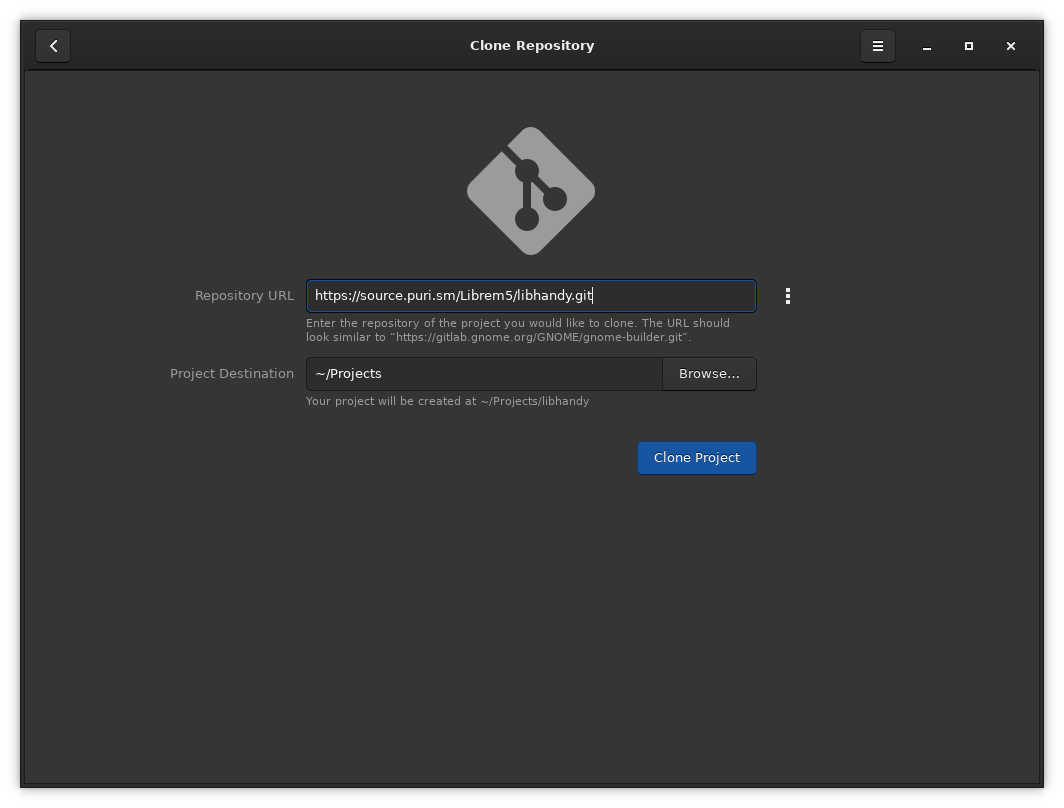
Fill in the Repository URL for the libhandy repository:
https://gitlab.gnome.org/GNOME/libhandy.git
You can leave the Project Directory to be the default directory, or change it if you like.
If the values in the form are valid, or reasonable, the Clone Project button should be highlighted. Click it to start cloning the project – note that this may take a few seconds.
Starting Builder
When Builder opens a project or clones a repository, it may try to build it for your host’s architecture. You can see this by clicking the build log – the brick wall icon at the top of the window. If you would like to build for a different architecture, this is a good time to cancel the build by pressing the stop button that appears in place of the build icon. After the build is cancelled, select what architecture you would like to build for from the devices drop down menu:
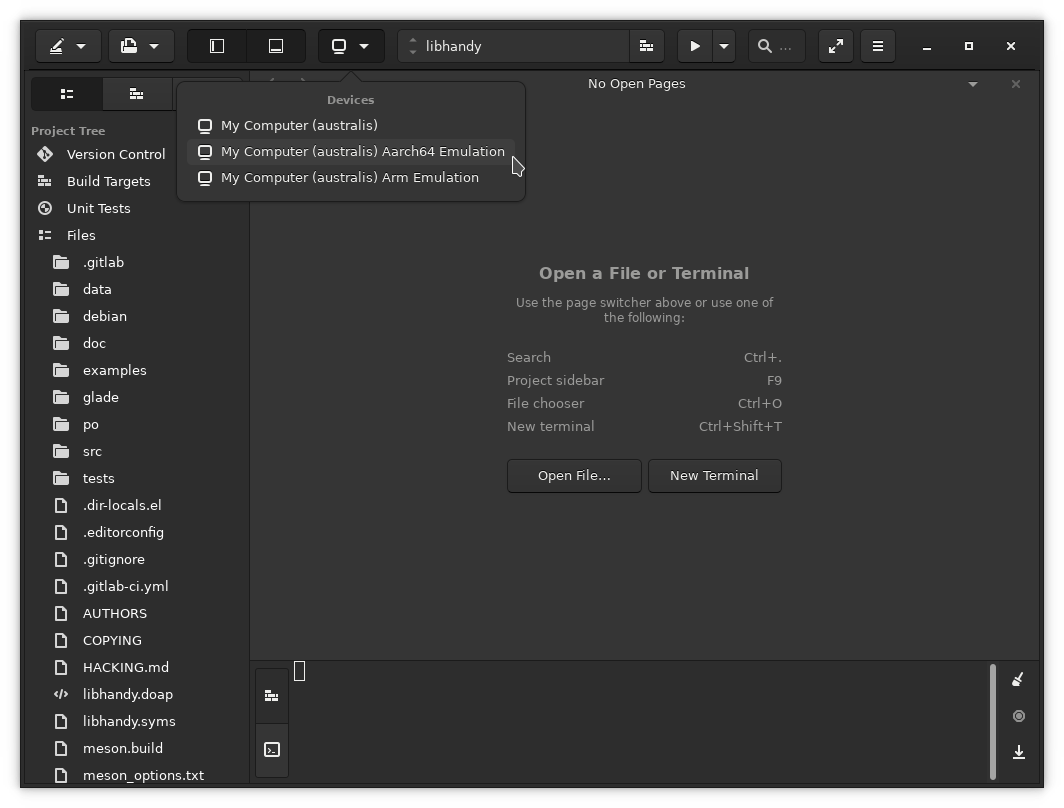
As soon as you select a different architecture, a build is started for that architecture. Select the aarch64 architecture by opening the devices menu to the left of the omnibar at the top of the window.
Note
If your build dependencies for the project are not installed you can open the Builder “Build Log” in the bottom panel (brick wall icon) to see which unsatisfied dependencies need to be resolved.
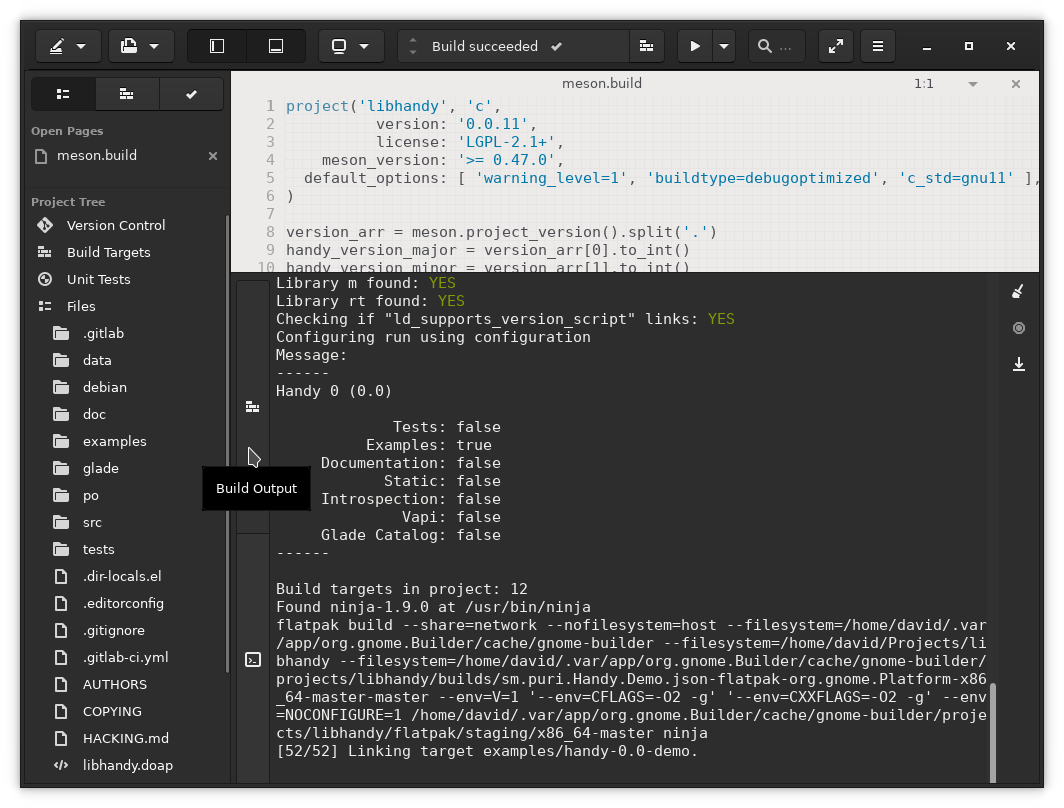
Builder will stop after configuring the project. To complete the flatpak bundle creation, you can click any of the remaining build steps listed in the “Build Details” drop-down to resolve the build through that step.
Alternatively, you can click the omnibar at the top of the window and select the Export Bundle button to start creation of a flatpak bundle that can be deployed to the phone.
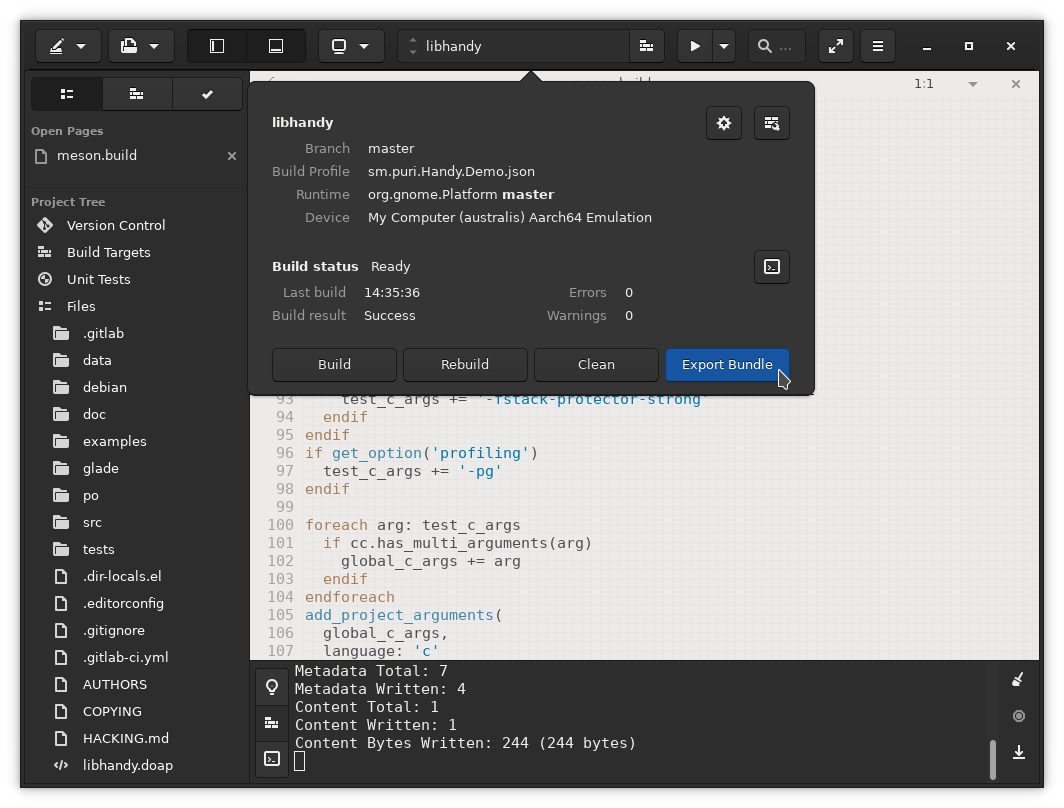
When the flatpak creation is finished, a file manager window will pop up in the directory where the sm.puri.Handy.Demo.flatpak is located. Make a note of this location.
Deploying the flatpak to the Phone
To run this flatpak you must first transfer it onto the phone or development board and install it. On your workstation, open a terminal and change directory to the one containing the sm.puri.Handy.Demo.flatpak file.
Copy the flatpak to the phone using the scp tool:
user@workstation:~$ scp sm.puri.Handy.Demo.flatpak purism@192.168.42.2:~/
Log in to the phone using ssh:
user@workstation:~$ ssh purism@192.168.42.2
Install the flatpak on the phone:
purism@pureos:~$ flatpak install sm.puri.Handy.Demo.flatpak
You may be asked to install additional packages for the runtimes that the application needs to run.
If installation fails due to missing runtimes, you may need to review the instructions at the start of this document.
If it was installed successfully then you can run the installed application:
purism@pureos:~$ flatpak run sm.puri.Handy.Demo
You will see the application start on the screen connected to the board.